
How to Apply Window Graphics: A Complete Installation Guide (Dry & Wet Methods)
Introduction
Window graphics are one of the most effective ways to transform retail spaces, offices, and commercial environments—but proper installation is critical to achieving a clean, professional finish.
At Treck Hall, we work closely with print shops, installers, and retail teams across Canada. This guide outlines a proven, step-by-step process for applying window graphics successfully, whether you’re working with small decals or large-format installations.
Before starting, always test a printed sample on the intended surface to ensure compatibility and performance.
Tools & Materials You’ll Need
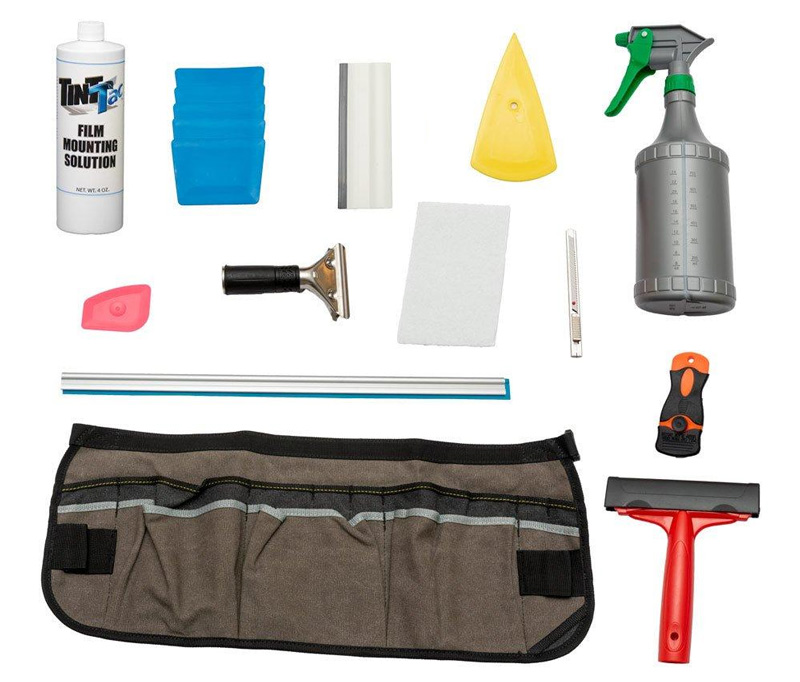
Before installation, make sure you have the right tools on hand:
- Printed graphic (vinyl, PP, PET, etc.)
- Non-ammonia glass cleaner (e.g. isopropyl alcohol + water)
- Lint-free cloth or microfiber towel
- Squeegee (felt edge preferred)
- Masking or painter’s tape
- Sharp utility knife
- Measuring tape
- Level (spirit or laser)
- Application fluid (for wet installs)
- Edge sealant (recommended for durability)
Step 1: Prepare the Graphic
Proper preparation helps prevent bubbles, lifting, and adhesion failure.
- Allow for Outgassing
Solvent-printed graphics should rest for 24–48 hours before installation. - Check Cut Quality
Ensure kiss cuts don’t penetrate the liner. - Transport Carefully
Always roll graphics with the liner facing outward. - Acclimate to Environment
Let materials sit in the install environment for ~24 hours, especially in extreme temperatures.
Step 2: Prepare the Glass Surface
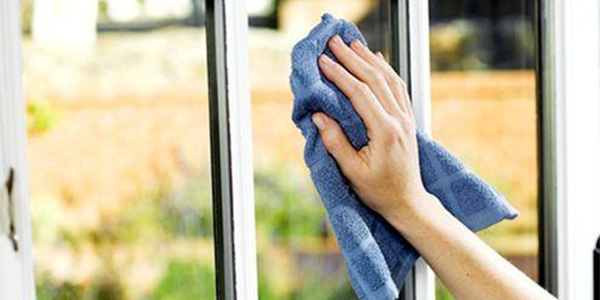
This is one of the most important steps.
- Clean using a non-ammonia solution (e.g. 50/50 isopropyl alcohol + water)
- Avoid household glass cleaners—they can leave residue
- Wipe completely dry with a lint-free cloth
- Inspect for dust, grease, or contaminants
A perfectly clean surface ensures maximum adhesion and longevity.
Step 3: Position the Graphic
Accuracy here saves headaches later.
- Measure and align using a level
- Leave a small gap (~1/8″ or 3mm) from the frame to prevent edge lifting
- Use masking tape to hold the graphic in place
- Create a top hinge with tape for controlled application
Step 4: Apply the Graphic

Option A: Dry Application (Best for Smaller Graphics)
- Peel back a few inches of liner from the top
- Apply using the hinge method
- Squeegee from the center outward
- Continue gradually, removing liner as you go
- Trim excess material if needed
Option B: Wet Application (Best for Larger Graphics)
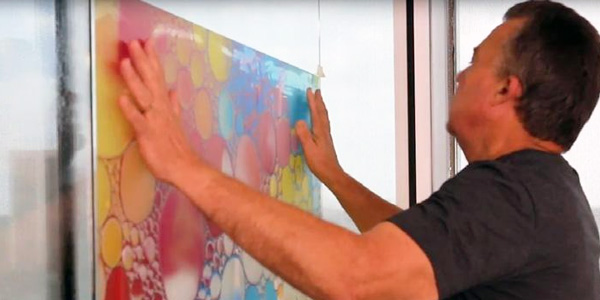
- Lightly mist surface with application fluid (water + a few drops of soap)
- Position the graphic onto the wet surface
- Squeegee out fluid from the center outward
- Allow proper drying time before removing application tape
Wet application allows repositioning and reduces the risk of bubbles on large installs.
Step 5: Seal the Edges (Recommended)
For long-term durability:
- Apply a thin bead of edge sealant
- Especially important for high-moisture or high-contact environments
- Allow proper curing time before cleaning or exposure
Best Practices for Long-Term Performance
- Avoid ammonia-based cleaners
- Clean gently with soft cloths
- Inspect edges periodically
- Reapply sealant if needed
- Remove application tape carefully at a low angle

Common Installation Mistakes to Avoid
This is where we separate from most competitors:
- ❌ Skipping proper cleaning
- ❌ Applying in extreme temperatures
- ❌ Not allowing prints to outgas
- ❌ Using too much application fluid
- ❌ Trapping air by not working from center outward
- ❌ Rushing large installs without proper alignment
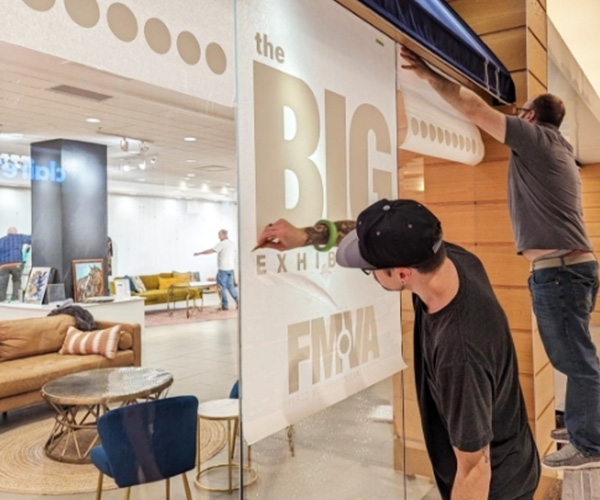
When to Use a Professional Installer
- Large-format window graphics
- Multi-panel installations
- High-visibility retail or branding environments
Smaller decals can be handled in-house, but complex installs benefit from experience.
Final Thoughts
Window graphic installation is a combination of preparation, precision, and technique. When done correctly, it delivers a high-impact visual result that lasts.
If you’re unsure about materials, application methods, or product selection, the Treck Hall team is always available to help guide you.
Need help selecting the right window graphic material?
Contact the Treck Hall team for product recommendations and technical guidance.
Email: sales@treckhall.ca / Toll free: 888.315.8515
Frequently Asked Questions
What is the best way to apply window graphics?
For smaller window graphics, a dry hinge method is typically the easiest and most effective. For larger graphics, a wet application method is recommended, as it allows for repositioning and helps reduce bubbles during installation.
Should I use wet or dry application for window vinyl?
Dry application is best suited for smaller decals and simpler installs. Wet application is preferred for larger graphics, as it provides more flexibility during positioning and helps prevent air bubbles from forming.
Can I use regular glass cleaner before installing window graphics?
It’s best to avoid standard household glass cleaners, as they often contain ammonia or leave residues that can interfere with adhesion. Instead, use a non-ammonia cleaner such as a mixture of isopropyl alcohol and water for proper surface preparation.
How do I prevent bubbles when applying window graphics?
To prevent bubbles, ensure the glass surface is completely clean and dry, apply the graphic slowly using a squeegee, and always work from the center outward. For larger graphics, using a wet application method can significantly reduce the risk of trapped air.
How long should printed window graphics sit before installation?
If the graphics are printed using solvent or eco-solvent inks, they should be allowed to outgas for 24 to 48 hours before installation. This helps prevent bubbling or adhesion issues after the graphic is applied.